Tuesday, January 12, 2016

Custom Buffet for Sharon :)

I was really excited to do this custom piece for a few reasons. First this client is awesome. She is one of those that likes my work so she basically says just go and do what you want. I will send her a few color combination ideas because no one likes every color and I'll send her an image or two and just ask which she likes best and go from there. Second reason is because she is so open to color which is great to see and third she is the sweetest lady ever. 😊

This is the third piece I have done for her and one of my favortie piece 😋  I have wanted to do a "music" themed piece for a very long time but I am not that into music so if it wasn't intended for someone I just would end up going with the things I like in case I got stuck with the piece. She has said something about how her and her husband loved music so off I went.


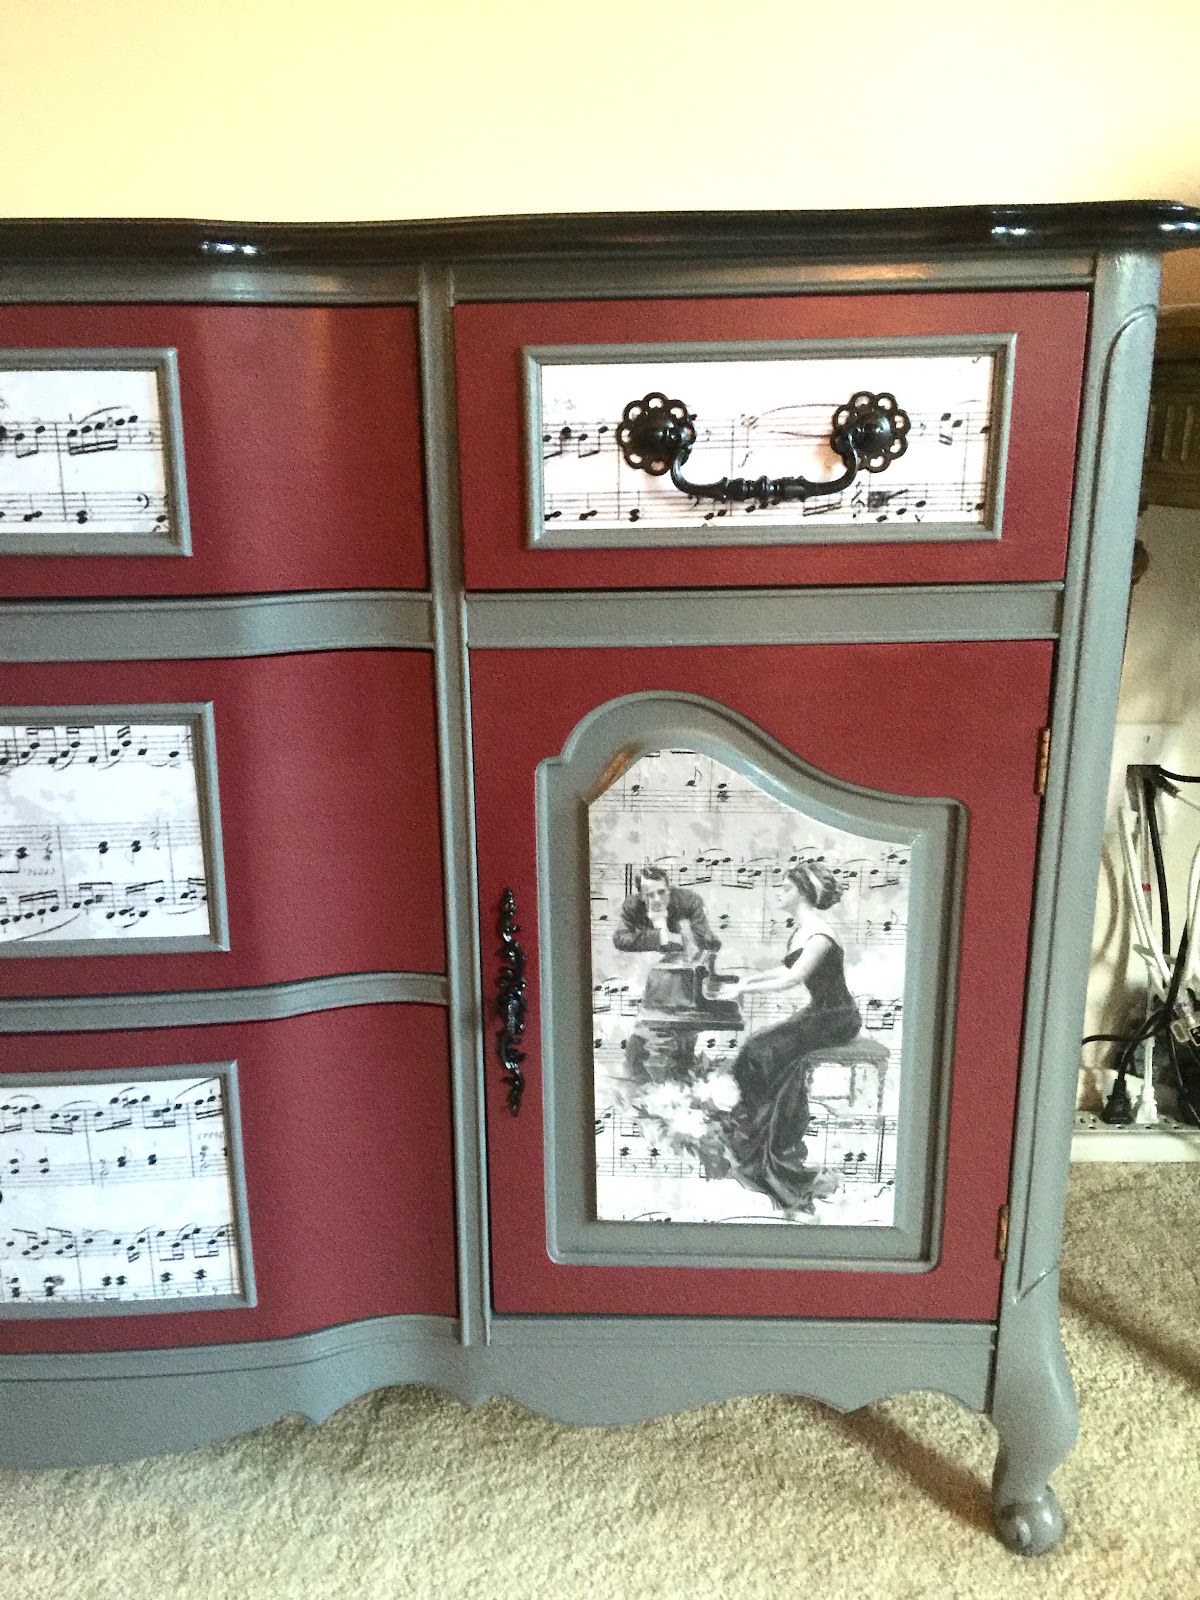
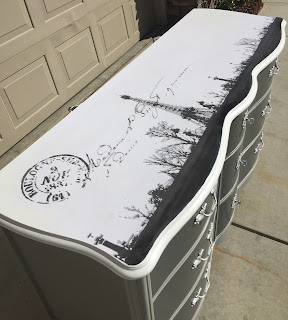
We went with a grey and grey with a pop off maroon for the front and a gloss black for the top (I usually try to stay away from doing black on the top of things because it shows the dust so well)

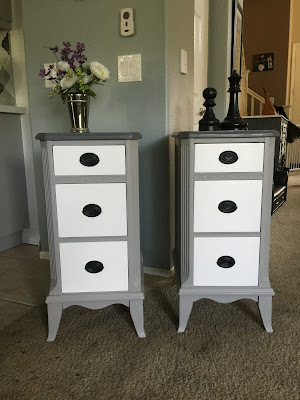
The inlays of the drawers are done in antique music sheets which I put over a blury background so they didn't pop quite so much and did the same with the vintage image of the man and woman on either side. Another thing I made sure to do was flip the image for the second cabinet so that they were facing each other.

If you have any questions about anything let me know and I would be happy to help you to do your own work :)

Pin It!

Small antique curio cabinet makeover

Distressed and Stained Curio Cabinet

Soooo this little gem I found on me of my daily craigslist hunts. I have the other one that is very similar that I purchased for our bathroom, but the other one I bought took me forever to find and cost quite the pretty penny. This one I got at a steal. It was in such great condition that I did decide to do chalk paint on, which I still don't think is the end all be all of paints but something about it keeps making me want to try it. I did have problems with it through. It kept cracking on me and the paint wasn't too thin or too thick so I had to read up on it. The Annie Sloan website said that sometimes there is a finish on the piece that reacts with the chalk paint by making it crack and what you have to do it paint it first with shellac. So that was a little annoying since I had already put two coats of chalk on there which weren't even covering well enough anyway.


Once I shellacked it and put one more coat and a few touch ups on it was good. Then I did a light distressing. My plan was to use Annie Sloan dark wax as the sealant but it made the white look yellowish and I didn't like that so instead I used a dark grey stain which have it that tonal effect and hit the carvings to make them stand out.


Once I was done and put the doors back on.....after hours of trying to figure out the hinges(hinges and I don't get along lol)....I didn't like that they shelves were a dark brown and the rest was grey and white colors so I painted the edge of the shelves and added some script print that I had messed with in Photoshop to give it a blurry background. It's the same script I use on a lot of my stuff and I'm pretty sure I got it off the graphic fairy website which has tons of free large images you can use for decoupage or transfers.

I would love to get the time to make some distressed medicine bottles to stage the inside of the cabinet but at the moment that will have to wait.
Pin It!

Thursday, November 12, 2015

Custom desk painted in black and red with grey accents

Black and Red Desk with Grey Accents

This was a desk I saw over at the habitats for humanity restore. It was in pretty good shape and had some beautiful detailing that I could work with. I had a client that was looking for a desk to be painted all black and red but when I bought this one I asked if she wouldn't mind some detail work in a dark grey because I knew it would really make it different and make those details pop. 

Here's the before and after 

And some close ups. Don't mind the poor backdrop...that's what I get for asking my 7 year old and her friend to help me take a picture lol. 


Pin It!

Saturday, November 7, 2015

Antique Buffet Painted Grey & White with Black Accents

Antique Buffet Dark Grey and White with Black Accents


Another one where I forgot to take a before picture but plenty of afters. Again using that dark grey I made and white. The top is down with a paint pen. The details are hand painted and a pain in the butt...but so worth it.
Pin It!

Grey and White Paris Bedroom Set


Pretty in Paris : Grey's and White with a Paris Skyline on Top


I'm still stuck on grey, which is nice when I'm not doing a custom order because it is a neutral that almost everyone can go with. Very unlike some of the crazy pieces I've done in the past and was stuck with for 3 years till the right person came along. The before and afters are crazy because of the way I got the set in the first place. It was spray painted bright purple blue and green. It had a missing middle handle which was impossible to find at an ok price and the ones I did find were cheap and snapped when I tried to screw it on....so in the end I changed out all the middle handles and I like them even better. 

Here's some close up and a view of the top which was a large print out from kinkos, black and white only costs about $7 :) but beware with all the white this design had it was hard to keep it white and the front edge was grey so the cutting was a bit difficult to make it look smooth against the white border. And just FYI it is pretty darn hard to cut the shape first and then glue because it is so big no matter how close you get the cut, when you glue it's always off and you have to cut more. With the desk I didn't cut at all before I glued and was just careful not to let the be glue build up around the edges. Then cut with a very sharp razor blade making sure not to cut into the wood


Pin It!

Antique Side Tables or Night stands revamped

Bought these gems at a garage sale...this sale was a dream for any person like me. It was like a horders house but with nice old stuff and kinda like an estate sale without the estate sale prices. I bought these a dresser or two and two antique headboard which I just sold as is and made a quick profit. I love redoing stuff but right now I don't have the storage or time to refinish everything so garage sale days I pick up stuff I would like by also post it as is so that if someone wants it I just make a profit on it and get it out....that is of course if it's not something super cool lol. 

Here's what they look like


And here's what they looked like before. 

And some close ups 


I painted them with my own mix of grey paints and white drawers. Just good ole behr paint and watch those brush stroke. Also added the clear coat to make sure that all that work doesn't get ruined. Make sure when your clear coating to go over it each time you change sides to make sure you didn't miss a drip. The drips will turn yellow and you end up having to sand out that whole area and paint again and clear coat again. 
Pin It!

Saturday, September 26, 2015

New York themed French bedroom set

Black and White Vintage New York theme French bedroom set 


After doing the New York table my manager at my real job lol saw it and said that he is 40 and has never had a bedroom set before. He saw the pictures of the bedroom makeover I did for Kerri and said I want do you have a set like the French ones that you can paint like the New York table and it just so happened that I had literally picked it up that morning before work. So before I could even post a picture it was sold. 

It took us a while to come up with the images for the top because they had to be high enough resolution and he wanted a certain baseball field. We never did find the right field in the right size but instead we found a pretty cool baseball player hitting a home run. So we used that and some other vintage images of New York. 


I painted them grey...a grey I made with a bunch of left over greys and blacks. Painted the drawers white and top black just around the edges. Make sure you get the back edge just incase the image is a little smaller or like me when your gluing it down it isn't quite right. Also there was a bubble in the dresser that layer down after a couple hours and when I clear coated came back up and layer back down so don't worry if that happens to you just try not to rip or tear the paper because there really is no going back from that. I used regular mod podge and an old library card to push it on. Then made sure all the edges were good before clear coating. Oh another thing....sorry I didn't take pictures of this I was too excited to get the images on there, but to make it fit a curvy dresser like this I took some of my mis prints and turned the dresser upside down on top of them and drew a template. I ended up just using half the template so that if a curve was too big or too small it would be the same on both sides. Use your template to cut the real thing.


I used wax on the drawers because I have turely found that clear coats on white just don't work out for me. There is always dust or something in it. Wax was easier to work with and made it very smooth but the highest shin your going to achieve is going to be satin. I clear coated the grey areas with poly satin and all the black details were done with a sharpie paint marker....ADVICE! Use the oil based and not the water based because the water based bled when I added the poly. You can also just use regular paint and a paint brush have plenty of q-tips around to wipe the areas you go over and if you are using the oil based wipe it off QUICKLY or it's not coming off. And there we go. 
Pin It!